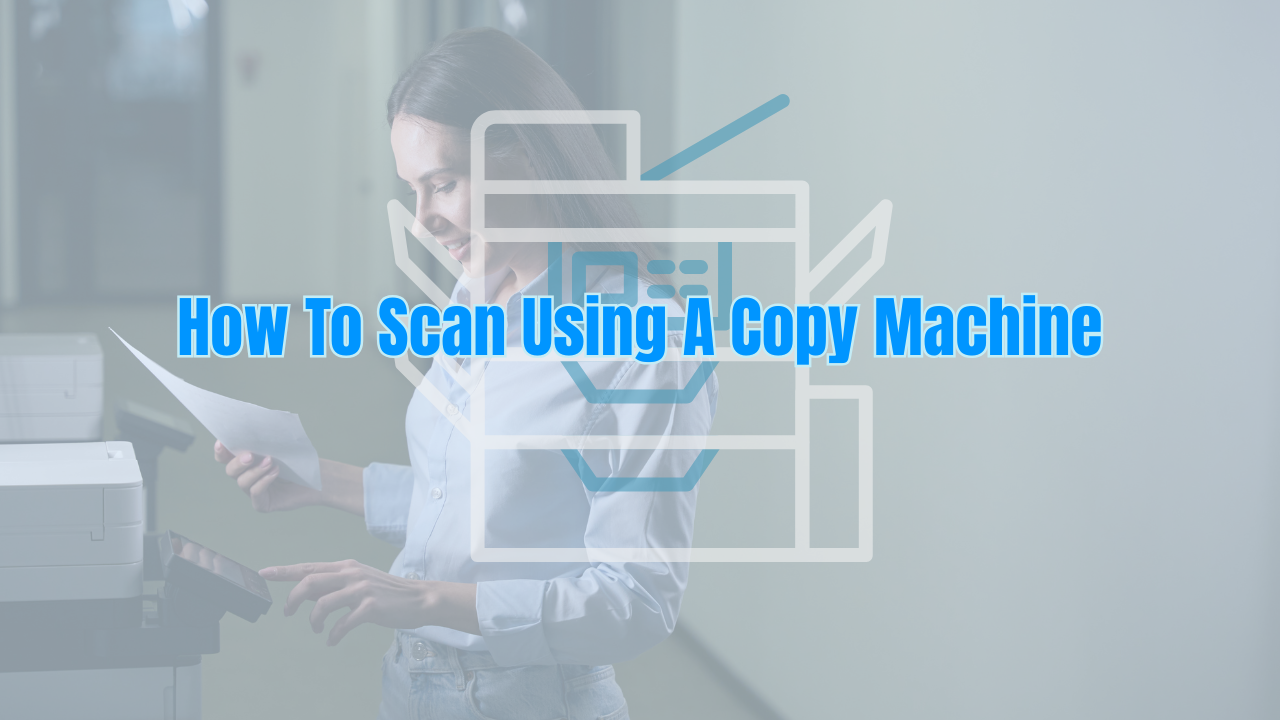
Why Use a Copy Machine for Scanning?
Many homeowners underestimate the benefits of scanning via a copy machine. Here’s why it’s often the better choice:
- High-quality scans: Copy machines often produce clearer images than standard flatbed scanners.
- Speed: You can scan multiple pages quickly without changing settings constantly.
- Multiple formats: Most machines allow you to scan directly to PDF, JPEG, or email.
- Convenience: Everything is done in one place—no need for additional software or apps.
If you’re considering expanding your home office setup, exploring copier leasing in New York City can help you access advanced machines without a large upfront investment.
Preparing Your Copy Machine
Before scanning, you need to make sure your machine is ready. Follow these steps:
- Check the power and network connection
Ensure the copier is plugged in and connected to your Wi-Fi or network if you want to scan to email or cloud storage. - Clear the scanner bed
Remove any dust or smudges to avoid streaks or spots on your scanned documents. - Select the correct paper size and orientation
Most machines automatically detect paper size, but for best results, ensure your documents are properly aligned.
If you’re looking for sustainable options for your home office, consider eco-friendly printing solutions to reduce environmental impact.
Step-By-Step Guide to Scanning
Here’s how to scan your documents efficiently:
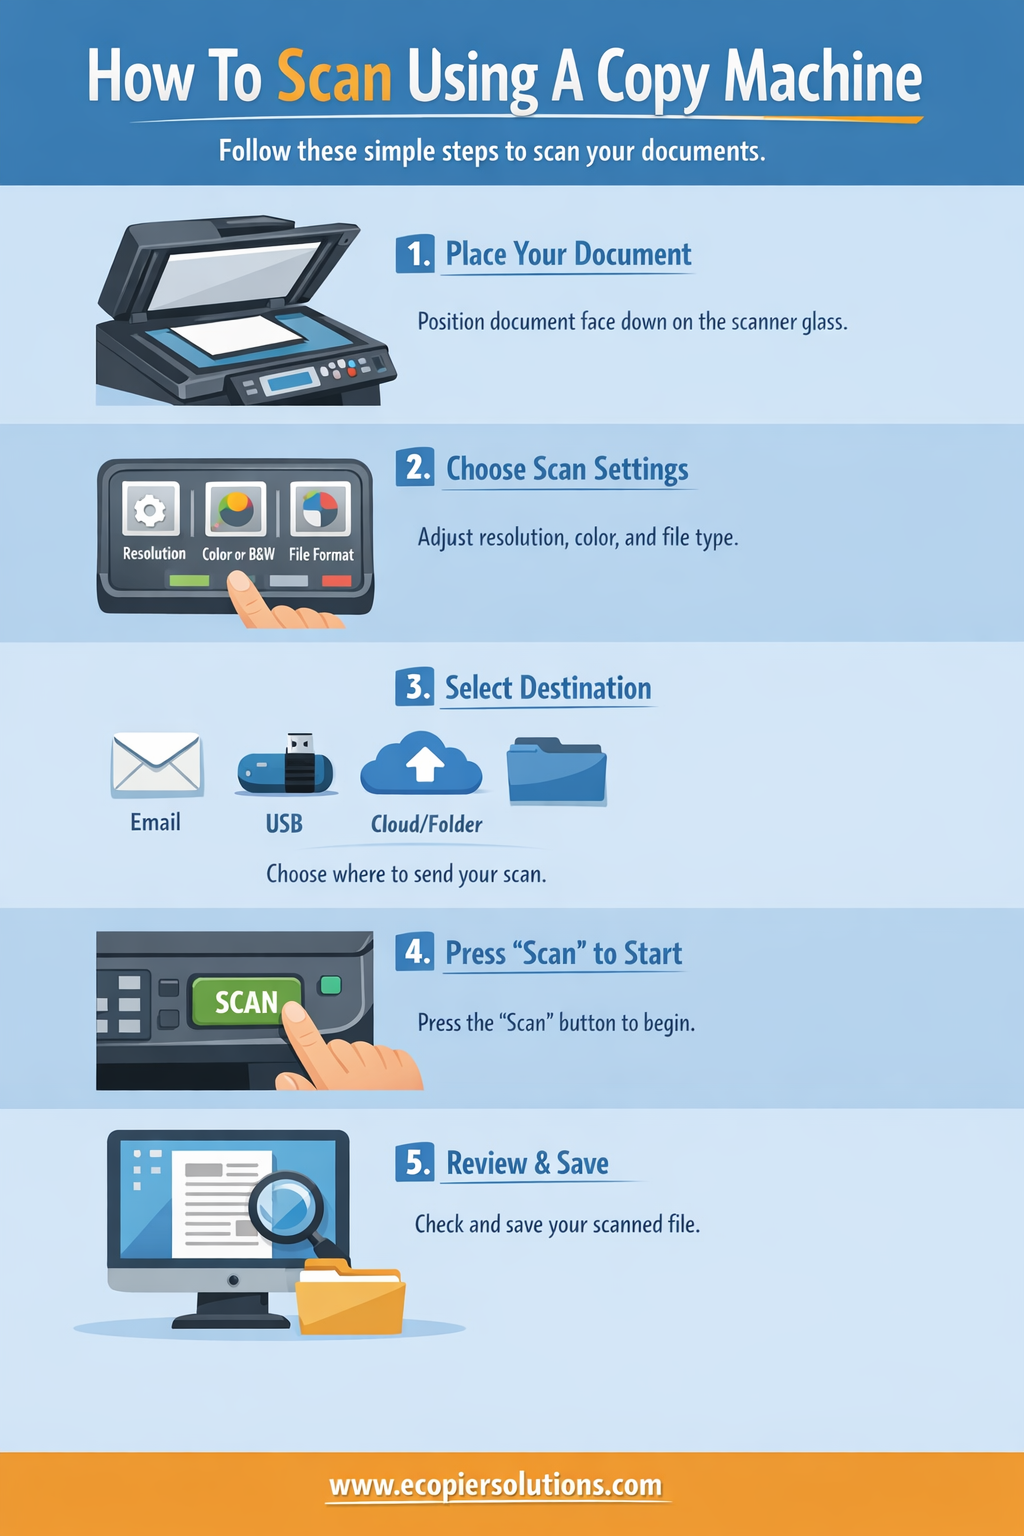
1. Lift the Scanner Lid
Place the document face-down on the scanner glass. Align it according to the markings on the glass, usually in the top-left corner. If scanning multiple pages, consider using the Automatic Document Feeder (ADF) if your copier has one.
2. Choose Scan Settings
Most copiers allow you to customize:
- Resolution: 300 dpi is standard for text; 600 dpi for high-quality images.
- Color options: Black & white for documents, color for photos.
- File format: PDF is best for documents; JPEG for images.
3. Select the Destination
Depending on your copier model, you can scan:
- To email: Sends the scanned file directly to an email address.
- To USB: Saves the file to a connected USB drive.
- To network folder or cloud: Directly uploads scans to a shared folder or cloud service.
4. Start Scanning
Press the “Scan” or “Start” button. The machine will process the document and save it to your selected destination.
5. Review and Save
Check the scanned file to ensure clarity and completeness. Rename and organize files appropriately for easy retrieval.
For homeowners in California, exploring California office printer rentals can provide additional scanning and printing options that fit your space and budget.
Tips for Better Scanning Results
- Clean the glass regularly to prevent smudges.
- Use the ADF for bulk scanning to save time.
- Adjust settings for images to avoid pixelation.
- Preview before final scan to avoid wasting paper or digital storage.
Common Issues and Solutions
Conclusion
Scanning with a copy machine is faster and more reliable than you might think. By following these simple steps—preparing your machine, selecting proper settings, and reviewing your scans—you can digitize documents like a pro. Whether it’s for work, school, or personal use, mastering this skill ensures your files are stored safely and efficiently.
Learn more about home office copier solutions and explore professional tips for enhancing your workflow.
.webp)


.png)