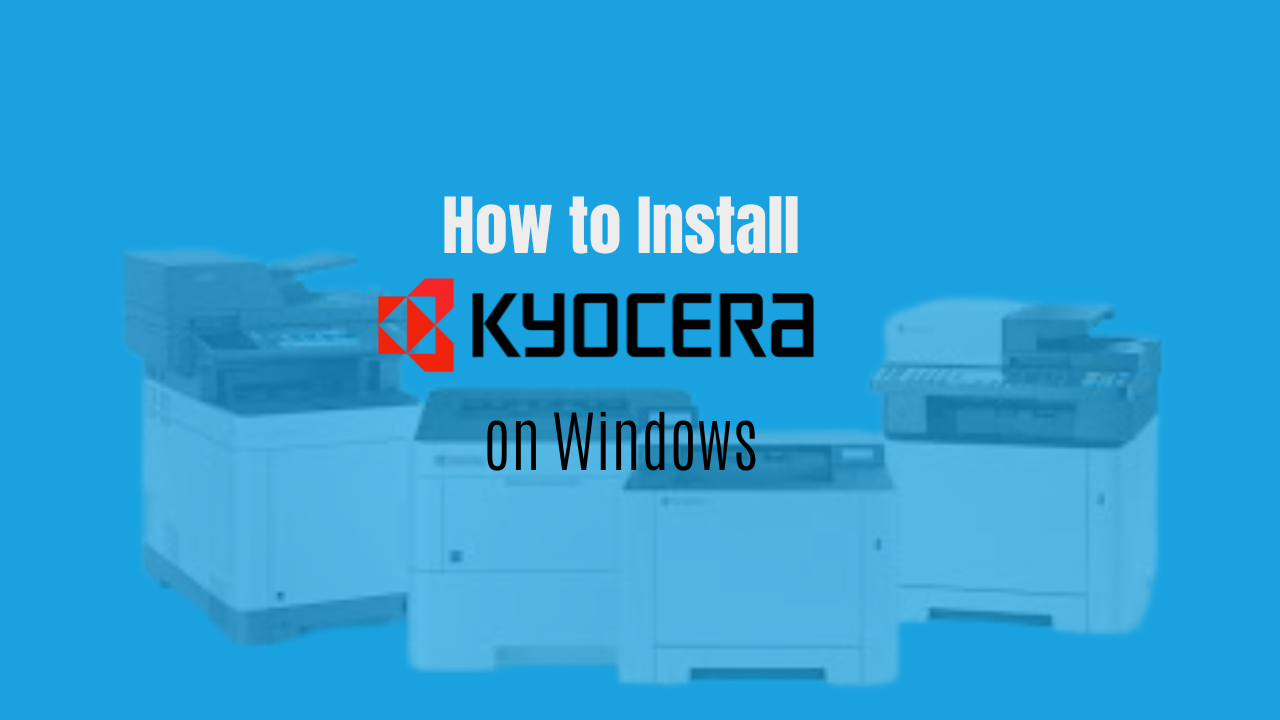
Installing a Kyocera printer on Windows does not need to feel overwhelming. Whether you are connecting through USB or over a network, a proper setup ensures smooth performance and full access to printing features. This step-by-step guide walks you through the entire process, from preparing your device to testing your printer, so you can avoid common installation issues that lead to connection problems later.
Ready to get your Kyocera printer up and running? Let’s start by preparing your printer and Windows computer for a smooth installation.
Quick-Install Checklist: How to Install a Kyocera Printer on Windows
Use this quick checklist if you want a fast, step-by-step overview of installing a Kyocera printer on Windows before diving into the full guide.
- Turn on your Kyocera printer and make sure toner, paper, and cables are properly installed.
- Connect the printer to your Windows computer using USB or confirm both devices are on the same Wi-Fi network.
- Go to the Kyocera driver website and search for your exact printer model.

- Select the correct Windows operating system (Windows 10 or Windows 11).
.png)
- Download the Kyocera KX Print Driver and save it to your Downloads folder.
- Open the downloaded file and extract it if required.
- Run the setup.exe file as administrator to start the installation.
- Accept the license agreement and choose Express Install when prompted.
- Select your Kyocera printer from the detected list and click Install.
- Choose your default settings, such as duplex printing and data collection preferences.
- Finish the installation and wait for Windows to register the printer.
- Print a test page to confirm your Kyocera printer is working correctly on Windows.
Before Installing a Kyocera Printer on Windows, Make Sure Your Device and Drivers Are Ready
Before you install Kyocera printer software on Windows, taking a few preparation steps will help ensure a smooth setup. Start by unpacking your Kyocera printer and placing it near your computer, especially if you plan to connect using a USB cable.
Turn on the printer and allow it to complete its startup process. Confirm that toner or ink cartridges are installed correctly, paper is loaded, and any protective tape or packaging has been removed.
On your Windows computer, make sure you have administrator access so you can install drivers without permission issues. Closing unnecessary applications can also reduce the chance of installation conflicts.
If you are installing the printer over a network, verify that both your Kyocera printer and Windows computer are connected to the same Wi-Fi network. Having your network credentials ready will help speed up the wireless setup process.
Next, download the correct Kyocera drivers for your specific printer model. Visit the official Kyocera support page and search for your device using the model number. Select the driver that matches your Windows version, such as Windows 10 or Windows 11.
Kyocera typically offers both basic and full-feature driver packages. For full functionality, including scanning and advanced print settings, download the full-feature Kyocera KX Print Driver.
Save the driver file to an easy-to-find location, such as your Downloads folder. Driver files usually come in .exe format and vary in size depending on your printer model. Once the download is complete, you will be ready to begin installing your Kyocera printer on Windows.
How to Install Your Kyocera Printer on Windows
With the Kyocera driver downloaded and your printer prepared, installing your printer on Windows is simple and straightforward. Start by locating the downloaded driver file, right-clicking it, and selecting “Run as administrator” to ensure the installation has the necessary permissions.
Follow the on-screen setup wizard: accept the license agreement and choose your connection type. Use USB for a direct cable connection or Network if your printer will be shared across multiple devices. Windows will attempt to automatically detect your Kyocera printer. If prompted, select your specific printer model to guarantee full compatibility.
The Kyocera Printer Setup Tool can help simplify network detection and automatically configure driver settings during this process.
Allow the installation to complete, which usually takes a few minutes. Once finished, your Kyocera printer should appear in Windows “Printers & scanners” under Settings, marked as Ready or Online.
Next, verify that your printer is working correctly by printing a test page. Right-click your printer name and select “Print test page.” A successful test print confirms that your computer and printer are communicating properly.
If the test page does not print, restart both your printer and Windows computer and try again. Additionally, check the printer’s display panel for any error messages or warning lights, which may indicate connectivity or setup issues that need addressing.
How to Verify Printer Installation
Once installation is complete, it is important to confirm your Kyocera printer is working properly. Open Settings, navigate to Printers & scanners, and verify your printer appears in the device list with a “Ready” or “Online” status.
Print a test page by right-clicking the printer name and selecting “Print test page.” If the page prints correctly, your computer and printer are communicating successfully.
If the test page does not print, restart both the printer and your Windows computer, then try again. Also check the printer’s display panel for any error messages that could indicate connectivity or setup issues.
How to Optimize Printer Settings
After you install a Kyocera printer on Windows, adjusting your settings can improve print quality, efficiency, and cost savings. Open Control Panel, go to Devices and Printers, and access Printer Properties for your Kyocera device.
Customize default paper size, print resolution, duplex printing, and color settings based on your typical usage. Kyocera documentation notes that optimized print settings can help reduce printing costs while improving consistency.
You can also configure advanced features such as secure printing, job tracking, and energy-saving modes through the printer’s web interface by entering its IP address into a browser.
These adjustments help ensure your Kyocera printer delivers reliable, high-quality output that matches your workflow.
Common Troubleshooting Tips
Even when following the correct steps, installation issues can still occur. Driver compatibility problems are common, especially on newer Windows systems. If issues arise, downloading the latest driver version directly from Kyocera’s official support page often resolves the problem.
For network installation issues, temporarily disabling Windows Firewall during setup can help, then re-enable it afterward. If your printer appears offline, restarting the Windows Print Spooler service may restore connectivity.
Running Windows Update before reinstalling drivers can also fix hidden system conflicts that interfere with printer detection.
Need Help Installing Your Kyocera Printer? eCopier Solutions Can Help
If you’re having trouble installing your Kyocera printer on Windows, eCopier Solutions can help. We assist homeowners and small offices with driver installation, network setup, and printer optimization to ensure your device works correctly.
We also provide ongoing support, maintenance, and eco-friendly printing solutions to keep your system running smoothly. For help or to learn more about our services, visit eCopier Solutions.
.webp)


.png)