You can safely remove loose toner and clean certain accessible areas, but the right method depends on your printer and cartridge model. If you want to know how to clean a toner cartridge, start with the manual and keep the process gentle.
Streaks, fading, smudges, repeating marks, and visible toner dust may all lead you here. We’ll cover the preparation, cleaning steps, common mistakes, and signs of a deeper equipment problem.
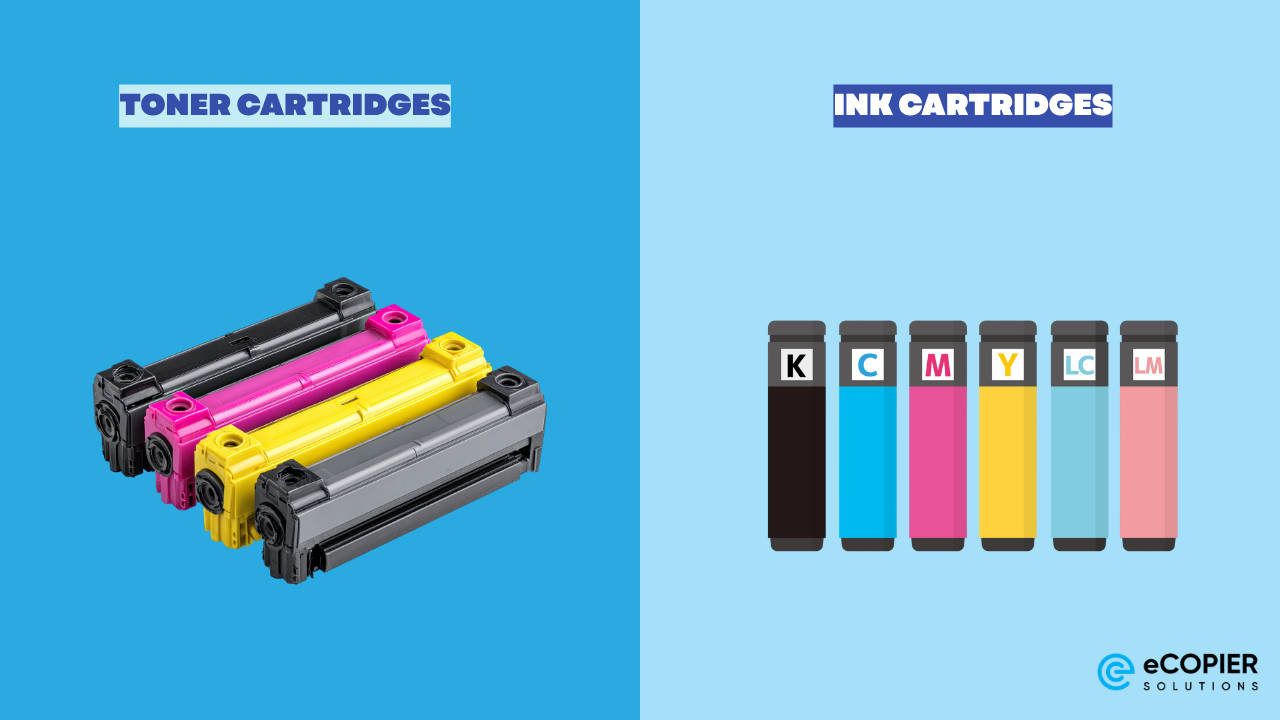
Is a Toner Cartridge the Same as Ink?
No, a toner cartridge is different from ink. Laser printers use dry toner powder instead of liquid ink, and that difference changes how each component should be handled.
Here are the main parts you may encounter:
Warm-water soaking may help certain inkjet printheads. A toner cartridge should never be soaked because water can damage its powder and internal parts.
What You Need for Toner Cartridge Cleaning
Good preparation keeps the powder contained and protects sensitive parts. Work slowly in a ventilated space. Here are the supplies you may need:
- Your model-specific manual
- Disposable gloves
- Protective paper or a sheet
- A soft, dry, lint-free cloth
- A manufacturer-approved soft brush
- A toner-rated vacuum for larger spills
- An approved cleaner or swab
A 10-year Japanese cohort studied 1,468 workers and found no association between toner handling and worsening respiratory function under well-controlled workplace conditions. So toner deserves care, though a small spill does not automatically signal serious harm. Keep ordinary household vacuums and excess liquid away from loose toner.
Steps to Clean the Toner Cartridge Safely
The best approach is simple. Handle only the parts your manual identifies as user-serviceable, and stop if the cartridge appears damaged. Here are the steps to clean the toner cartridge safely.

Step 1: Check the Manual and Prepare the Area
Cartridge designs vary quite a bit. Some cartridges include the photosensitive drum, while other printers have a separate drum unit.
Check which components your manual allows you to remove and clean. Then cover your work surface and choose a ventilated area away from bright light because it can affect the drum.
Step 2: Turn Off and Unplug the Printer
Shut down the printer and disconnect its power cable. Give the fuser time to cool because this component becomes hot during printing.
Once the machine is cool, open the correct access panel. Remove the cartridge exactly as the manual describes and avoid forcing any clips or levers.
Step 3: Remove and Inspect the Cartridge
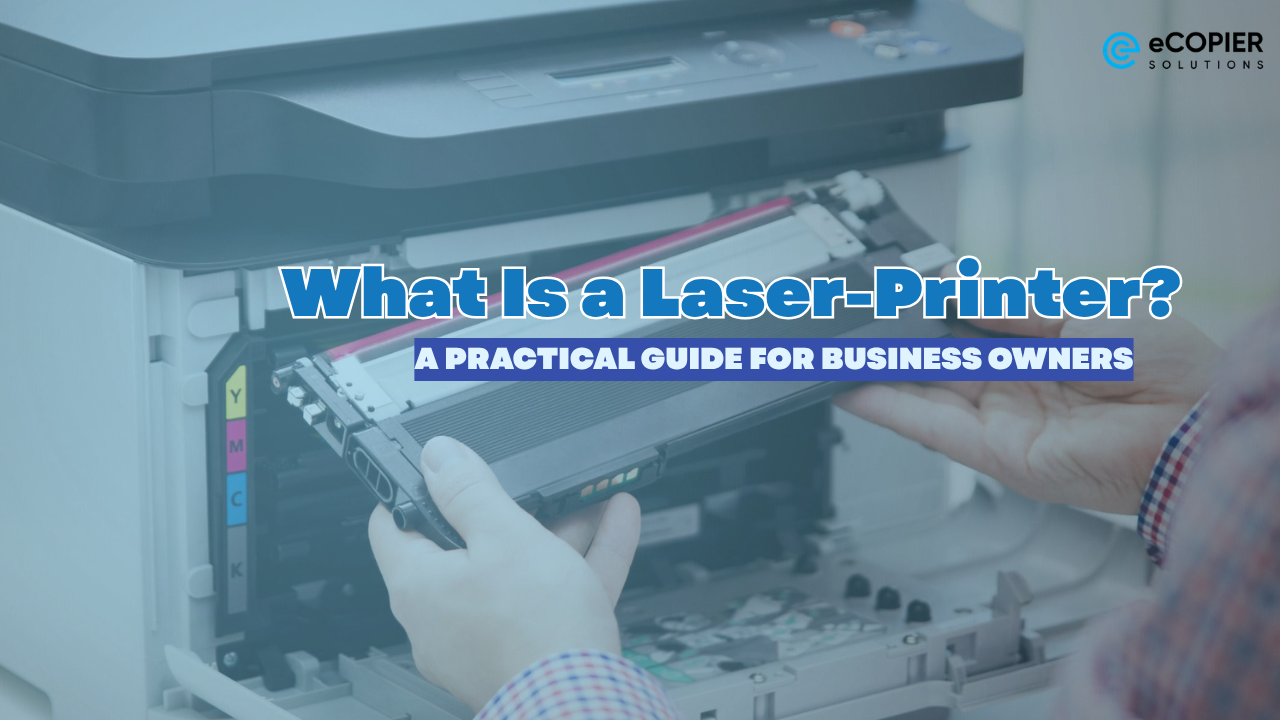
Place the cartridge on the protected surface. Look for cracks, damaged seals, loose powder, and obvious leaks. You should also check if the cartridge was seated correctly and if the printer shows a low-toner or empty alert.
A damaged or leaking cartridge usually needs replacement. More cleaning may spread the powder and create further problems.
Step 4: Remove Loose Toner and Exterior Dust
Wipe the cartridge’s exterior and other approved surfaces with a dry, lint-free cloth. Use light pressure so the cloth picks up the toner without pushing powder into openings.
If toner has spread inside the printer, follow the machine’s instructions closely. A toner-rated vacuum may be suitable for a larger spill, but use one only when the manufacturer permits it.
Step 5: Check the Roller, Drum, and Corona Wire
The developer roller, also called a magnetic roller, carries toner toward the drum. Dirt or uneven toner on its surface may create faded areas or marks that repeat at regular intervals. If the roller is accessible, wipe it gently with a lint-free cloth only after the manual approves this step.
Avoid touching the photosensitive drum with bare fingers because skin oils may affect print quality. Keep it away from direct light as well. If your printer has a corona-wire cleaning tab, slide it as directed and return it to its home position. Use alcohol only when your model instructions specifically permit it.
Step 6: Reinstall the Cartridge and Print a Test Page
Place the cartridge back into its slot and check that it locks securely. Close every access panel, reconnect the printer, and start it.
Run the machine’s cleaning or calibration cycle if one is available. Then print a test page and compare the defect with your earlier print. A clear improvement suggests that loose toner or debris caused the issue.
What Should You Avoid When Cleaning a Toner Cartridge?
Avoid moisture, rough handling, and tools that can spread toner or damage sensitive components. Toner particles are typically around 10 micrometers across, though the broader range can sit near 5 to 30 micrometers. Since this fine powder spreads easily, compressed air and standard vacuums can make cleanup harder.
These are the main mistakes to avoid:
- Using a household vacuum
- Blowing toner with compressed air
- Washing or soaking the cartridge
- Applying hot water
- Scrubbing the drum
- Exposing the drum to strong light
- Touching rollers with bare fingers
- Mixing incompatible toner powders
- Removing blades, seals, pins, or gears
- Reusing a cracked or leaking cartridge
When Will Cleaning Fail to Fix the Problem?
Cleaning will fail when the defect comes from worn, damaged, or incorrectly configured components. A mark that returns in the same position typically points to more than surface dust. Our guide to black printer streaks and smudges can help you match the pattern to toner buildup, dirty rollers, or a worn drum or fuser.
Here are the patterns worth checking:
We recommend cleaning it once, printing a test page, and checking if the same marks appear again. If the line appears only on copies or scans, follow our guide on how to clean copier glass before assuming the toner cartridge is responsible.
How Often Should You Clean a Toner Cartridge?
Clean a toner cartridge when you see loose powder, leaks, streaks, or uneven output and when the manufacturer recommends maintenance. There is no universal schedule because office conditions and print volumes vary.
We recommend a monthly visual inspection for an ordinary office printer. For a wider routine that covers paper paths, rollers, consumables, and early print-quality warnings, see our laser printer maintenance guide.
High-volume machines may need more frequent checks. If the printer works correctly, leave the cartridge installed because unnecessary handling may damage sensitive parts.
Make Toner Maintenance Easier With eCopier Solutions
Basic cleaning can be handled in-house, but recurring leaks, streaks, faded pages, and mechanical defects usually need a closer look. At eCopier Solutions, we help businesses keep printer problems off their internal task lists.
Our copier and printer lease packages can combine equipment, free unlimited toner, maintenance, and shipping. We also monitor toner usage and can replenish supplies before they run out. If an issue appears, our Remote Repairs and Management service can help identify it sooner.
Our clients also receive nationwide support, 24/7 customer service, a four-hour service response, and access to stocked Kyocera replacement parts. This keeps costs more predictable and gives your team more time for its actual work.
P.S. See how our team resolved a printing issue for a Maserati dealership before its staff even knew there was a problem.

Frequently Asked Questions
Do Toner Cartridges Dry Out If Not Used?
No. Toner cartridges contain dry powder, so they cannot dry out like liquid ink. Still, humidity may cause the powder to clump, while excess heat can affect cartridge components. Store unopened cartridges in their original packaging in a cool, dry place and protect them from direct sunlight.
What Is the Lifespan of a Toner Cartridge?
A sealed toner cartridge commonly remains usable for around 24 to 36 months. An installed cartridge may last approximately two to three years. However, its actual lifespan depends on storage conditions, print frequency, page coverage, and rated page yield, so check the manufacturer’s guidance.
How Do You Revive a Dried-Up Printer Cartridge?
A toner cartridge cannot dry up because it already contains dry powder. This problem usually affects inkjet cartridges and printheads. Never soak toner equipment. For an inkjet model, begin with the printer’s built-in cleaning cycle and follow its manufacturer-approved printhead instructions if the blockage remains.
How Often Do You Replace Toner Cartridges?
Replace a toner cartridge when it reaches its rated page yield, displays an empty alert, or continues producing faded pages after basic troubleshooting. A cartridge also needs prompt replacement if it develops a crack, leak, or damaged seal. Busy offices will naturally replace supplies more frequently.
Can You Clean and Reuse a Toner Cartridge?
Yes, an intact toner cartridge can be reinstalled after safe cleaning if it still contains usable powder. Cleaning can remove exterior dust and loose toner. It leaves the toner level unchanged and cannot repair worn internal components or reset the cartridge’s page-yield counter.


.webp)



.png)