Toner dust around the cartridge, dark streaks, smudged pages, and paper-feed trouble usually mean your printer needs attention. Still, learning how to clean laser printer parts safely takes more care than wiping down the outer case.
The machine contains hot surfaces, electrical contacts, and delicate parts that are easy to damage. Cleaning methods also vary between brands and models.
In this article, we’ll show you a safe cleaning process, the signs worth checking, and the point where professional maintenance makes more sense.
What Are Signs That a Laser Printer Needs Cleaning?
A laser printer may need cleaning when it produces streaks, toner specks, faded areas, repeating marks, smudges, or frequent paper-feed problems.
Visible defects usually provide the first clue because dust and loose toner affect the path from the cartridge to the finished page. Still, laser printer cleaning cannot restore every worn part. A mark that appears at the same interval on every page may come from a damaged drum, roller, or fuser.
Here are the main signs to check:
What Do You Need Before Cleaning a Laser Printer?
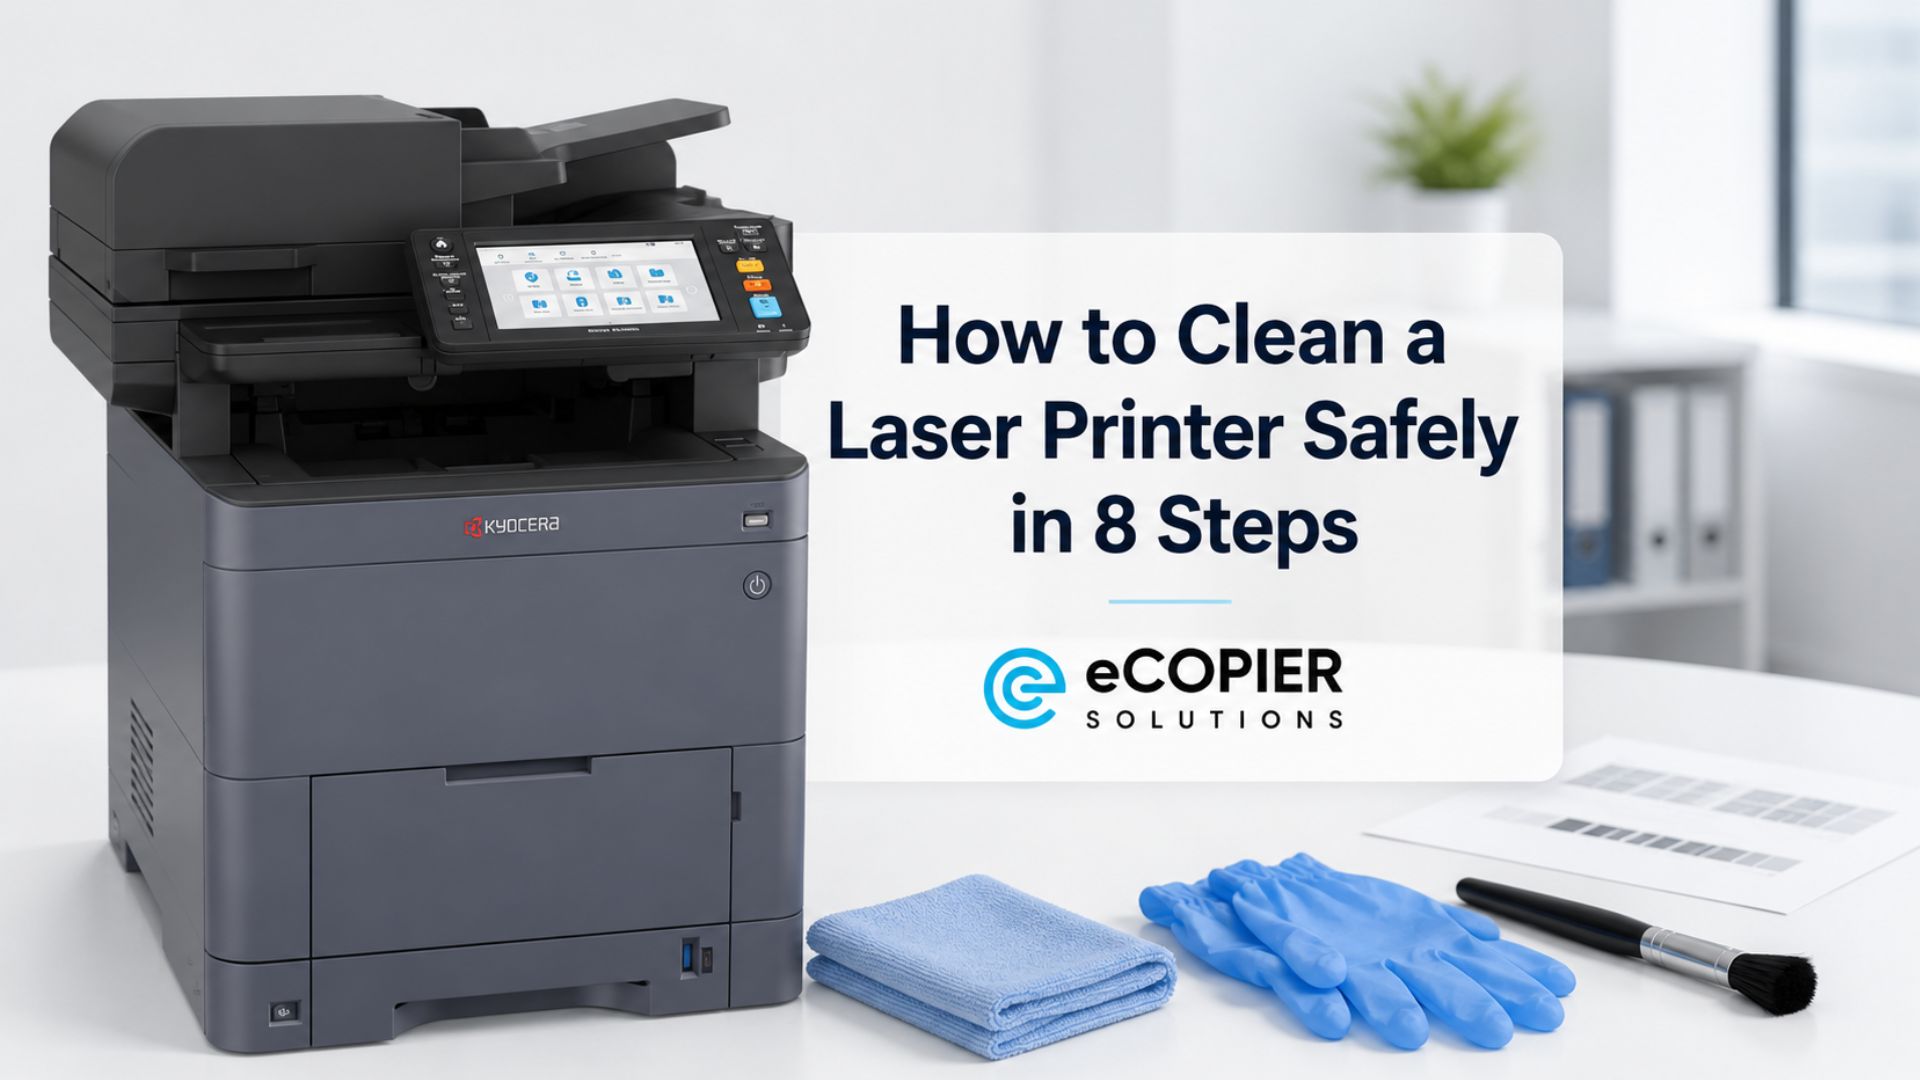
Before cleaning a laser printer, you need the model instructions, a few safe cleaning supplies, and a clear workspace with good ventilation.
So, start by finding the exact model number. Then check the user manual or manufacturer’s support page before choosing a liquid, brush, cloth, or cleaning tool. We recommend this step because one printer may have an accessible drum while another keeps that part inside a sealed cartridge.
These are the basic supplies to gather:
- The printer’s user or service manual
- Disposable gloves
- A clean, lint-free microfiber or toner cloth
- A soft, dry brush approved for electronics
- A clean sheet of paper or protective work surface
- Manufacturer-approved roller cleaner when permitted
- A flashlight for inspecting the paper path
- A sealable bag for a leaking or damaged cartridge
- Good room ventilation
A commercial laser printer cleaning kit may include several of these items. Even then, check that each item is suitable for your model. Abrasive cloths, household sprays, hot water, and unapproved liquids can leave residue or damage sensitive surfaces.
How to Clean a Laser Printer Safely
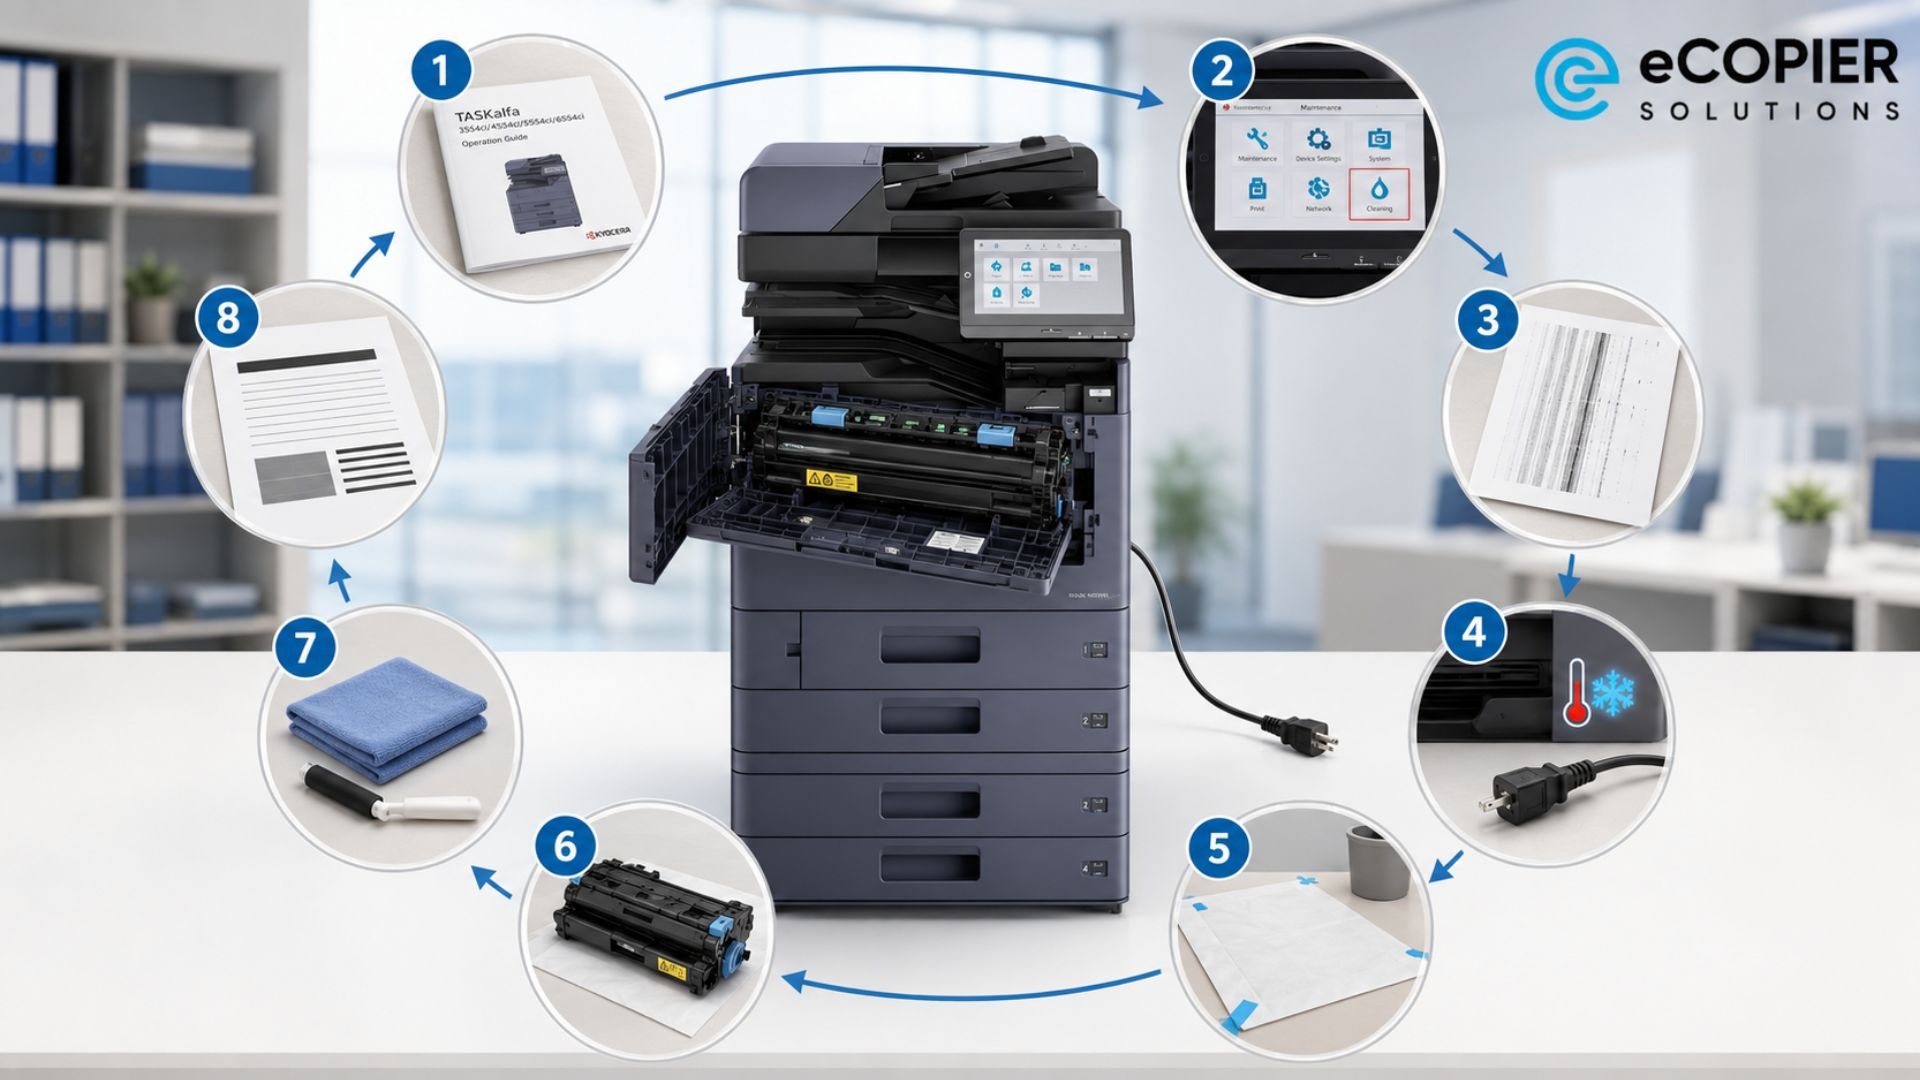
A safe cleaning process follows a controlled order from inspection through final testing. Each laser printer cleaning phase gives you a clearer before-and-after comparison.
Here are the steps we recommend.
1. Check the Model Manual and Built-In Cleaning Options
Find the model number on the front, back, or settings screen, and then open the manufacturer’s cleaning instructions. Printer layouts vary around the drum, corona wire, transfer belt, rollers, and fuser assembly.
Some machines include a built-in laser printer cleaning cycle or maintenance-page function. Run that function first when the manufacturer recommends it.
The printer may clean part of its paper path without requiring you to open the machine. Other models lack this option, so follow the controls and menu instructions for your specific device.
2. Print a Test Page and Record the Defect
Print a test page before removing any parts. Look closely at the location of streaks, dots, faded patches, ghost images, or toner smudges.
Keep that page beside the printer because it will become your final comparison. The pattern itself can also reveal useful clues.
For example, a mark that returns at regular intervals may point to a rotating component. At this stage, simply record what you see and avoid guessing which part has failed.
3. Power Down, Unplug, and Let the Printer Cool
Switch the printer off and disconnect its power cable. Then wait for the full cooling period listed in the manual before you open the internal area. The pause matters because the fuser uses heat and pressure to bond toner to the page.
An EPA technical review found that laser-printer fusers commonly operated at about 160-200°C, or 320-392°F. Faster machines could reach around 250°C, which equals 482°F.
Because those temperatures are severe, an outer panel that feels cool tells you very little about the fuser underneath. Give the machine the full recommended cooling time.
4. Prepare the Workspace and Remove Loose Paper
Choose a stable work surface in a well-ventilated area. Cover the surface with clean paper so toner residue does not spread across the desk.
Next, remove paper from the input and output trays. Open only the covers identified in the manual. As parts come out, place them on the protected surface in the same order.
We find that this simple habit makes reassembly easier because you can retrace each step without relying on memory.
5. Remove and Inspect the Toner Cartridge and Drum
Some printers have separate toner and drum units, while others combine both parts inside one cartridge. Use the handles or grip points shown in the manual, and keep your hands away from the drum surface, transfer roller, and exposed electrical contacts.
Check the cartridge for cracks, loose powder, worn seals, or toner that has gathered heavily along one edge. Place a leaking cartridge in a sealable bag and replace it. Repeated wiping rarely solves a damaged seal.
Cartridge care varies by design, so use our guide on how to clean a toner cartridge safely before touching its internal parts.
6. Remove Loose Toner and Dust From Accessible Areas
When cleaning laser printer interiors, stay with the areas the manufacturer says you can reach. Wipe those surfaces gently with a dry lint-free cloth or another approved material. A soft electronics brush may help around corners when the manual allows one.
Work slowly and guide loose toner toward the cloth. Avoid blowing into the machine or using uncontrolled compressed air. Those methods can push powder deeper into the chassis and send it into the room.
An EPA review that we mentioned before found that toner particles generally measured only 5-10 micrometers. Developer particles were larger at 50-200 micrometers, though they were still small enough to move easily through disturbed air. This is why a careful wiping motion works better than a strong blast of air.
7. Clean Laser Printer Rollers and the Paper Path
Use your flashlight to inspect the accessible paper path. Remove loose scraps, label fragments, and visible paper dust with your fingers or an approved tool. Keep clear of springs, sensors, and mechanisms that the manual does not identify as user-serviceable.
When the instructions permit it, wipe accessible rollers with a lightly dampened lint-free cloth or a manufacturer-approved roller cleaner. Turn each roller gently so you can reach its full surface. Avoid forcing gears or pulling against resistance.
The cloth should feel lightly damp. A soaked roller can lose grip, carry liquid into the printer, or develop a new layer of residue after it dries. Leave drum and corona-wire care to the exact model instructions because both parts can be damaged by the wrong method.
8. Reassemble the Printer and Run a Final Test
Return the drum, cartridge, trays, and covers in the reverse order. Check that each component sits evenly and clicks or locks into its normal position before you reconnect the power.
Once the printer starts, print the same test page you used earlier. Compare the two sheets in good light. Cleaner output usually means the process removed the source of the defect.
When the mark remains in exactly the same place, the problem may come from a worn component. That result also helps you decide how soon the printer needs further inspection.
How Often Should a Laser Printer Be Cleaned?
A laser printer should be cleaned according to its usage level, operating environment, symptoms, and manufacturer’s maintenance guidance.
There is no single calendar schedule that fits every machine. A lightly used home printer may need only occasional tray and exterior checks. But a busy office printer deals with more paper dust, toner coverage, heat, and mechanical movement, so it may need attention more often.
So, check trays and accessible surfaces during routine office care. Internal cleaning should follow the manual, an approved maintenance interval, a toner spill, or a visible drop in print quality. Our laser printer maintenance checklist provides a fuller routine for paper paths, rollers, supplies, and test pages.
The same EPA review from before also concluded that equipment emissions can increase as the time between routine maintenance grows. That finding supports timely care, though it does not create one universal cleaning interval for modern printers.
What Should You Do If Cleaning Does Not Fix the Problem?
When cleaning does not fix the problem, stop repeating the same process and check for wear, damage, incorrect installation, or a failed internal component.
Persistent laser printer problems often leave a pattern. That pattern helps narrow down the likely cause and shows when professional diagnosis is the safer next step.
Here are the common outcomes to review:
The drum deserves particular attention when defects refuse to move. According to the same EPA review from before, toner-transfer efficiency decreases as a photoconductive drum deteriorates. More loose toner may remain inside the printer chassis as the drum ages, so repeated cleaning cannot restore a drum surface that has reached the end of its useful life.
How Can eCopier Solutions Help With Ongoing Printer Care?
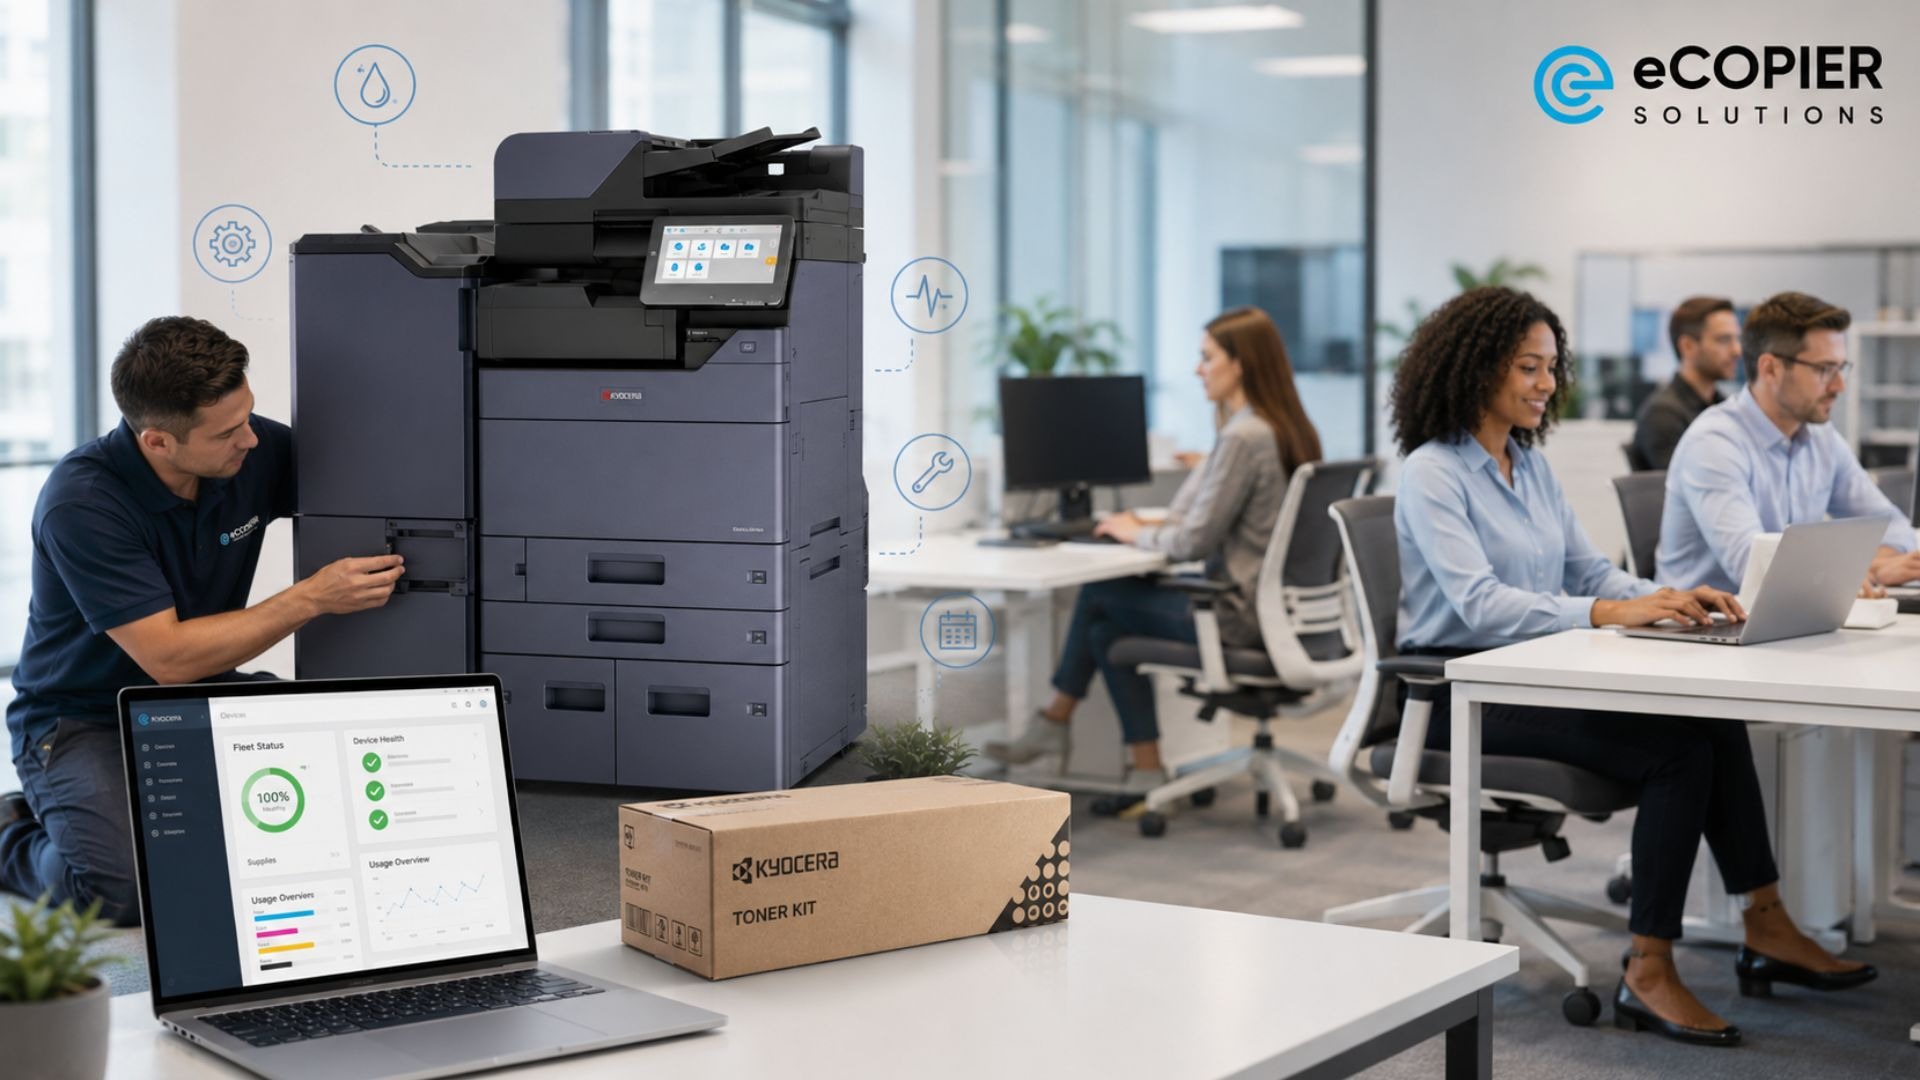
eCopier Solutions can help businesses manage their printers through one partnership that covers equipment, toner, maintenance, monitoring, replacement parts, and support.
Printer leasing with maintenance and support included can reduce the time office managers and IT teams spend on recurring print defects and supply requests. Our lease offering can combine machines, unlimited toner, setup, maintenance, remote diagnostics, automated alerts, and nationwide support.
The company’s Maserati dealership case study shows how that proactive approach can work. One of the dealership’s machines failed, and an eCopier representative arrived before the issue had even reached the general sales manager.
Basic cleaning still has its place. Yet a managed partnership can take recurring diagnosis, toner replenishment, repairs, and equipment planning off your team’s daily list.
Contact eCopier Solutions to discuss printer leasing, maintenance, toner, and ongoing support for your business.
Keep Laser Printer Cleaning Safe and Model-Specific
The safest approach starts with the model manual, a fully cooled machine, careful toner handling, and matching test pages from before and after the work. Once you understand how to clean laser printer parts within reach, you can handle minor buildup with more confidence.
Persistent streaks, leaks, jams, ghosting, or loose toner usually call for component diagnosis. And for busy offices, managed service can keep the same problem from becoming another weekly task.
FAQs
How Often Should I Clean My Kyocera Printer?
Clean your Kyocera printer according to its model manual, workload, environment, and maintenance schedule. Check it sooner when you see paper dust, toner buildup, streaks, or feed trouble. A high-volume Kyocera machine will usually need more frequent inspection than a lightly used desktop model.
Can I Clean My Kyocera Drum With Alcohol?
Do not apply alcohol to a Kyocera drum unless the exact model instructions clearly approve it. Drum surfaces are sensitive to light, oils, scratches, and cleaning chemicals. Use the method listed in the manual, or request qualified service when the drum itself appears dirty or damaged.
Can I Use a Normal Vacuum Cleaner to Clean the Printer?
A normal household vacuum is unsuitable for loose toner. Fine powder and static charge can damage equipment or escape through unsuitable filtration. NIOSH guidance says toner vacuums should include electrostatic-charge-neutralization features. Use one only when the printer manufacturer’s procedure allows it.
How Much Does a Laser Cleaning Machine Cost?
An industrial laser cleaning machine commonly costs about $5,000 to $25,000, while broader advertised ranges can reach $2,000 to $50,000. These machines remove rust, paint, and surface contamination. Laser cleaning companies serve industrial projects, so this equipment has no role in ordinary printer maintenance.







.webp)

.png)